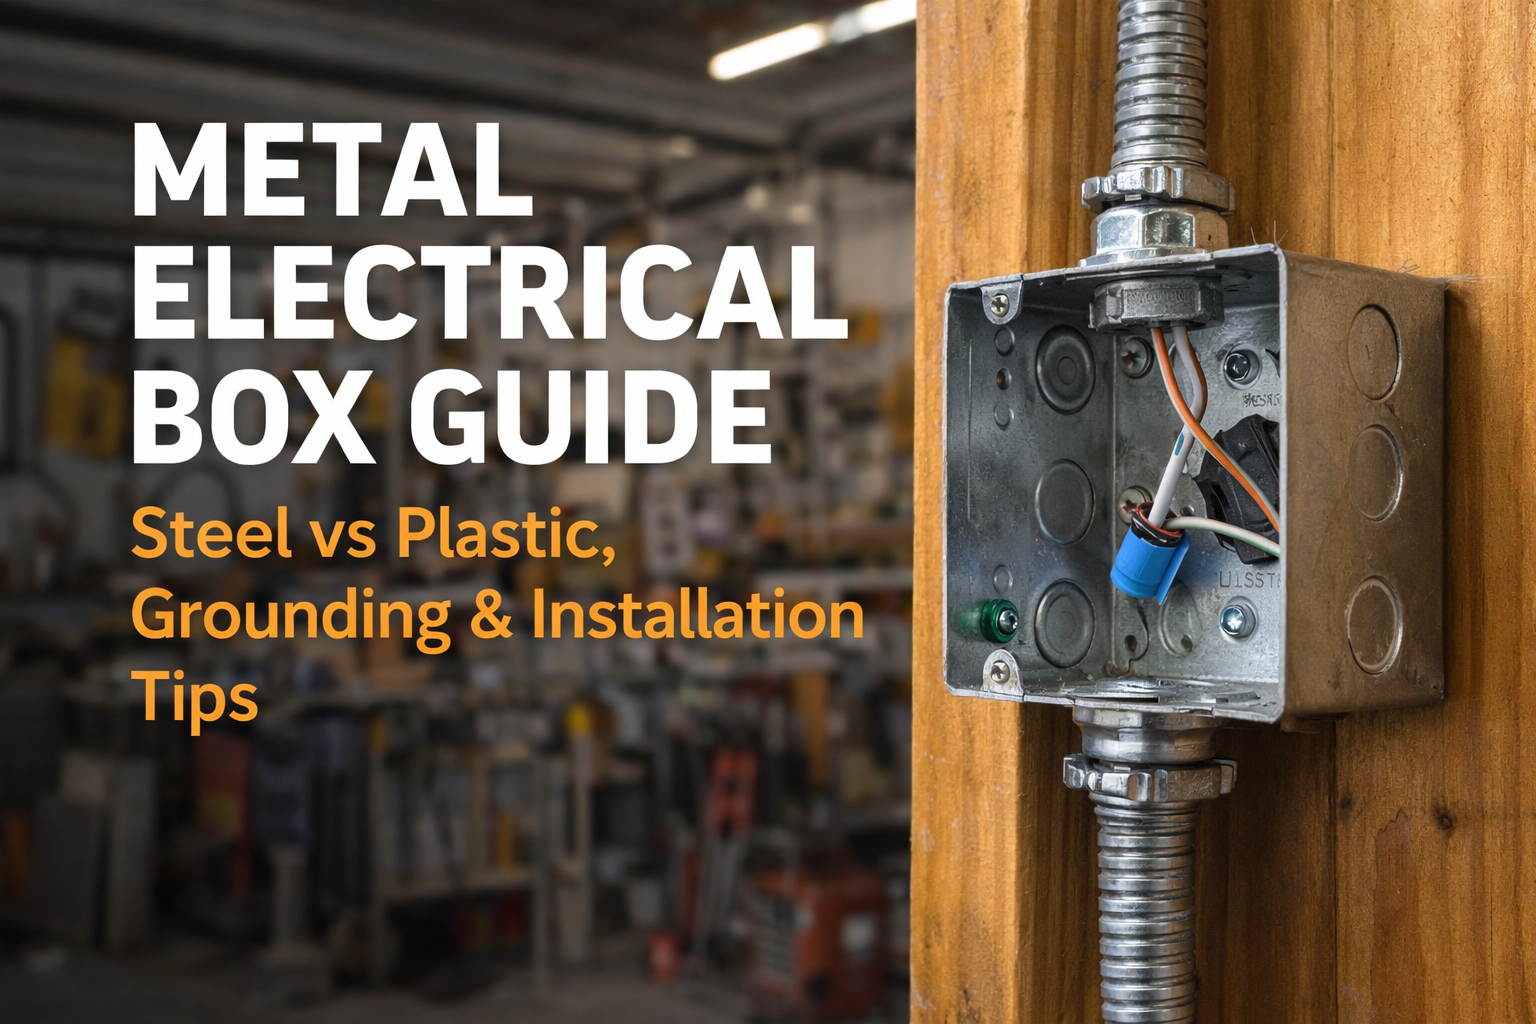
If you look behind a switch in an unfinished garage, you’ll often see a sturdy silver container instead of white plastic. This switch box metal unit acts as a critical protective shell for your wiring. Crafted from galvanized steel, these boxes resist fire and impact significantly better than PVC. Consequently, building codes often require galvanized steel electrical box installation wherever wires face physical risks or exposure.
These enclosures also provide unique functionality beyond simple durability. You will see small circular tabs called “knockouts” that are punched out to create cable entry points. Crucially, every metal electrical outlet box features a dedicated “grounding point.” This threaded hole connects the steel body to safety wires, ensuring that if stray current touches the box, it is safely diverted away from you.
Steel vs. Plastic: Why Exposure and Durability Determine Your Box Choice
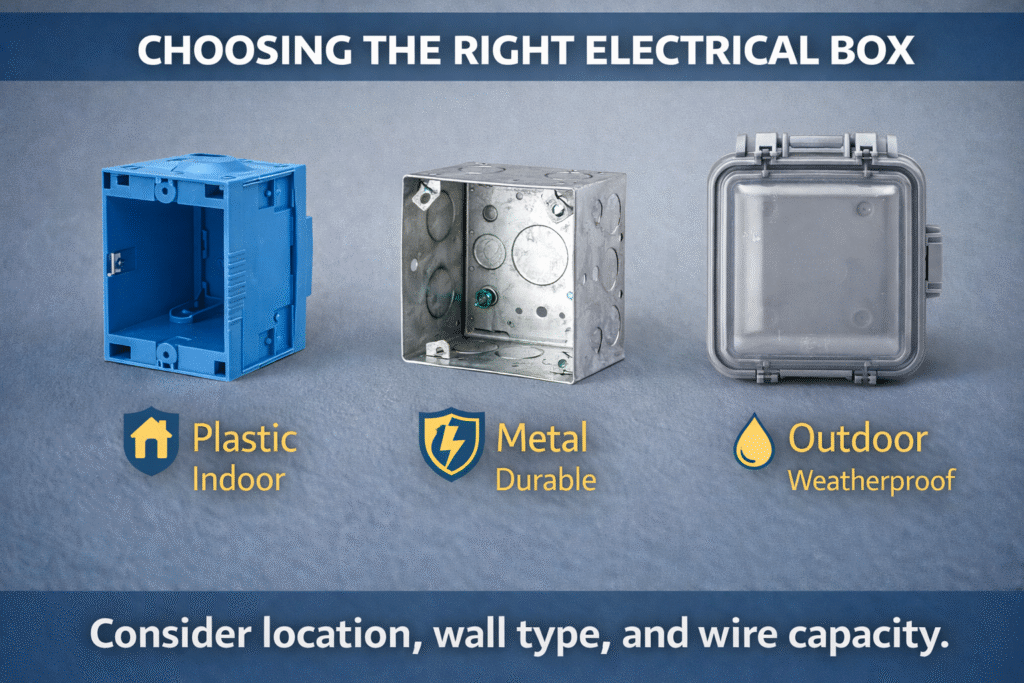
Most homeowners default to blue plastic boxes because they are cheap and easy to nail into a wooden stud behind drywall. However, plastic fails when the wiring is exposed in an unfinished basement or workshop. In these spaces, the box must survive accidental bumps from tools, lumber, or lawn equipment. Steel electrical boxes provide this necessary “mechanical impact protection,” acting as sturdy armor for the fragile connections inside.
Beyond physical strength, metal offers superior containment if a wire connection sparks or overheats. While plastic can eventually melt under extreme heat, a metal box acts as a fire-resistant electrical enclosure. This capability prevents an internal electrical fault from igniting nearby dust or wood, making steel the safer choice for utility areas.
When to use metallic vs plastic electrical boxes depends on the location:
- Garage or Workshop: Use Metal to protect exposed wires from physical damage.
- Finished Bedroom: Use Plastic inside the walls for cost savings and easier installation.
- Masonry Wall: Use Metal since plastic cannot securely anchor to concrete or brick.
Once you determine that steel is required, the challenge shifts to selecting the right configuration, such as “handy boxes” or “gangable units.”
Navigating the Aisle: Deciphering Handy Boxes, Gangable Units, and Square Enclosures
At the store, the most obvious difference is between the rounded corners of a “handy box” and the sharp edges of a standard square enclosure. The handy box is designed specifically for handy box vs square box applications, such as surface mounting on concrete garage walls where wiring cannot be hidden. Conversely, square metal boxes provide more internal volume for complex wiring and are typically used with a “mud ring”—a raised cover that bridges the gap between the deep box and your finished drywall.
Electrical sizing relies on the term “gang,” which refers to the number of switches or outlets a box can hold. A metal light switch box built for one toggle is a “single-gang,” while a “double-gang” holds two side-by-side. For unique projects, look for a gangable metal box. These units feature removable side plates that allow you to unscrew and merge multiple single boxes together, creating a custom enclosure for as many switches as you need.
| Box Type | Typical Dimensions (H x W) | Best Application | | :— | :— | :— | | Single-Gang | 4″ x 2 1/8″ | One switch or outlet | | Double-Gang | 4″ x 4″ | Two devices side-by-side | | 4-Inch Square | 4″ x 4″ | Heavy wiring volume; requires a mud ring cover |
Selecting the correct physical size ensures your switches fit, but the metal construction serves a deeper purpose than just holding devices. Unlike plastic, these conductive boxes are an active part of your home’s electrical defense system.
The Grounding Safety Net: How Metal Boxes Protect You from Electrical Shocks
While plastic boxes are naturally insulated, a metal junction box introduces a unique scenario where the material itself conducts electricity. If a loose “hot” wire accidentally brushes against the interior walls, the entire enclosure becomes energized and dangerous to touch. To prevent this shock hazard, the metal must be connected to your home’s ground system, effectively turning the box into a safety net that captures stray electricity and trips the breaker immediately.
Creating this protective path requires “bonding.” You will typically find a threaded hole in the back of the box designed specifically to accept a green grounding screw. By wrapping a short length of bare copper wire—often called a “pigtail”—around this screw and connecting it to your circuit’s main ground wire, you succeed in grounding a steel outlet box safely. This ensures the metal frame creates a continuous path back to the electrical panel.
Modern building standards, specifically the National Electrical Code grounding requirements, mandate this step because relying solely on the switch’s metal mounting strap is often unreliable. Once the bonding is secure, the box is electrically neutral and safe to handle.
From Drywall to Masonry: Mastering Mounting Brackets and Surface Conduit
Installing into open walls involves securing the enclosure to the wooden framing before drywall goes up. To mount metallic boxes to wood studs, look for units with pre-attached side brackets or nailing flanges. Position the box so its front edge extends slightly past the stud, matching the thickness of your future wall covering. This ensures the final switch plate sits flush rather than sinking into the plaster.
Hard surfaces like concrete in basements or garages require a different approach. You will utilize surface mount conduit boxes for masonry, anchoring them directly to the brick using concrete screws. Because the wiring remains exposed, it travels through protective metal tubes called conduit that connect to the box via pre-punched holes, available in standard electrical conduit knockout sizes like ½-inch or ¾-inch.
Opening these entry points for rigid pipe or for using romex in steel electrical boxes with a cable clamp requires a delicate touch. Follow this “twist-and-pull” method for a clean result:
- Place a screwdriver tip against the knockout slot furthest from the box rim.
- Strike the handle firmly to tip the metal disk inward.
- Grip the tipped disk with pliers and twist back and forth until it snaps free.
Your Hardware Store Blueprint: Final Steps for a Code-Compliant Installation
You now have the knowledge to select the right protection for your wiring. Whether installing a rugged metal mounting box in the garage or retrofitting electrical cut in boxes, choosing metal is a deliberate investment in long-term safety.
Pre-Purchase Safety Checklist:
- Size: Confirm the number of “gangs” matches your switches.
- Material: Ensure heavy-duty metal for exposed areas.
- Grounding: Verify a green grounding screw is included.
- Brackets: Check for proper mounting tabs for your wall type.
- Certification: Look for the official UL stamp.
Always confirm you are buying “UL listed metallic electrical components” to ensure the hardware meets rigorous testing standards. With the right materials in hand, you are ready to complete a project that is secure, grounded, and professionally built.